


Tile Preparation & Installation
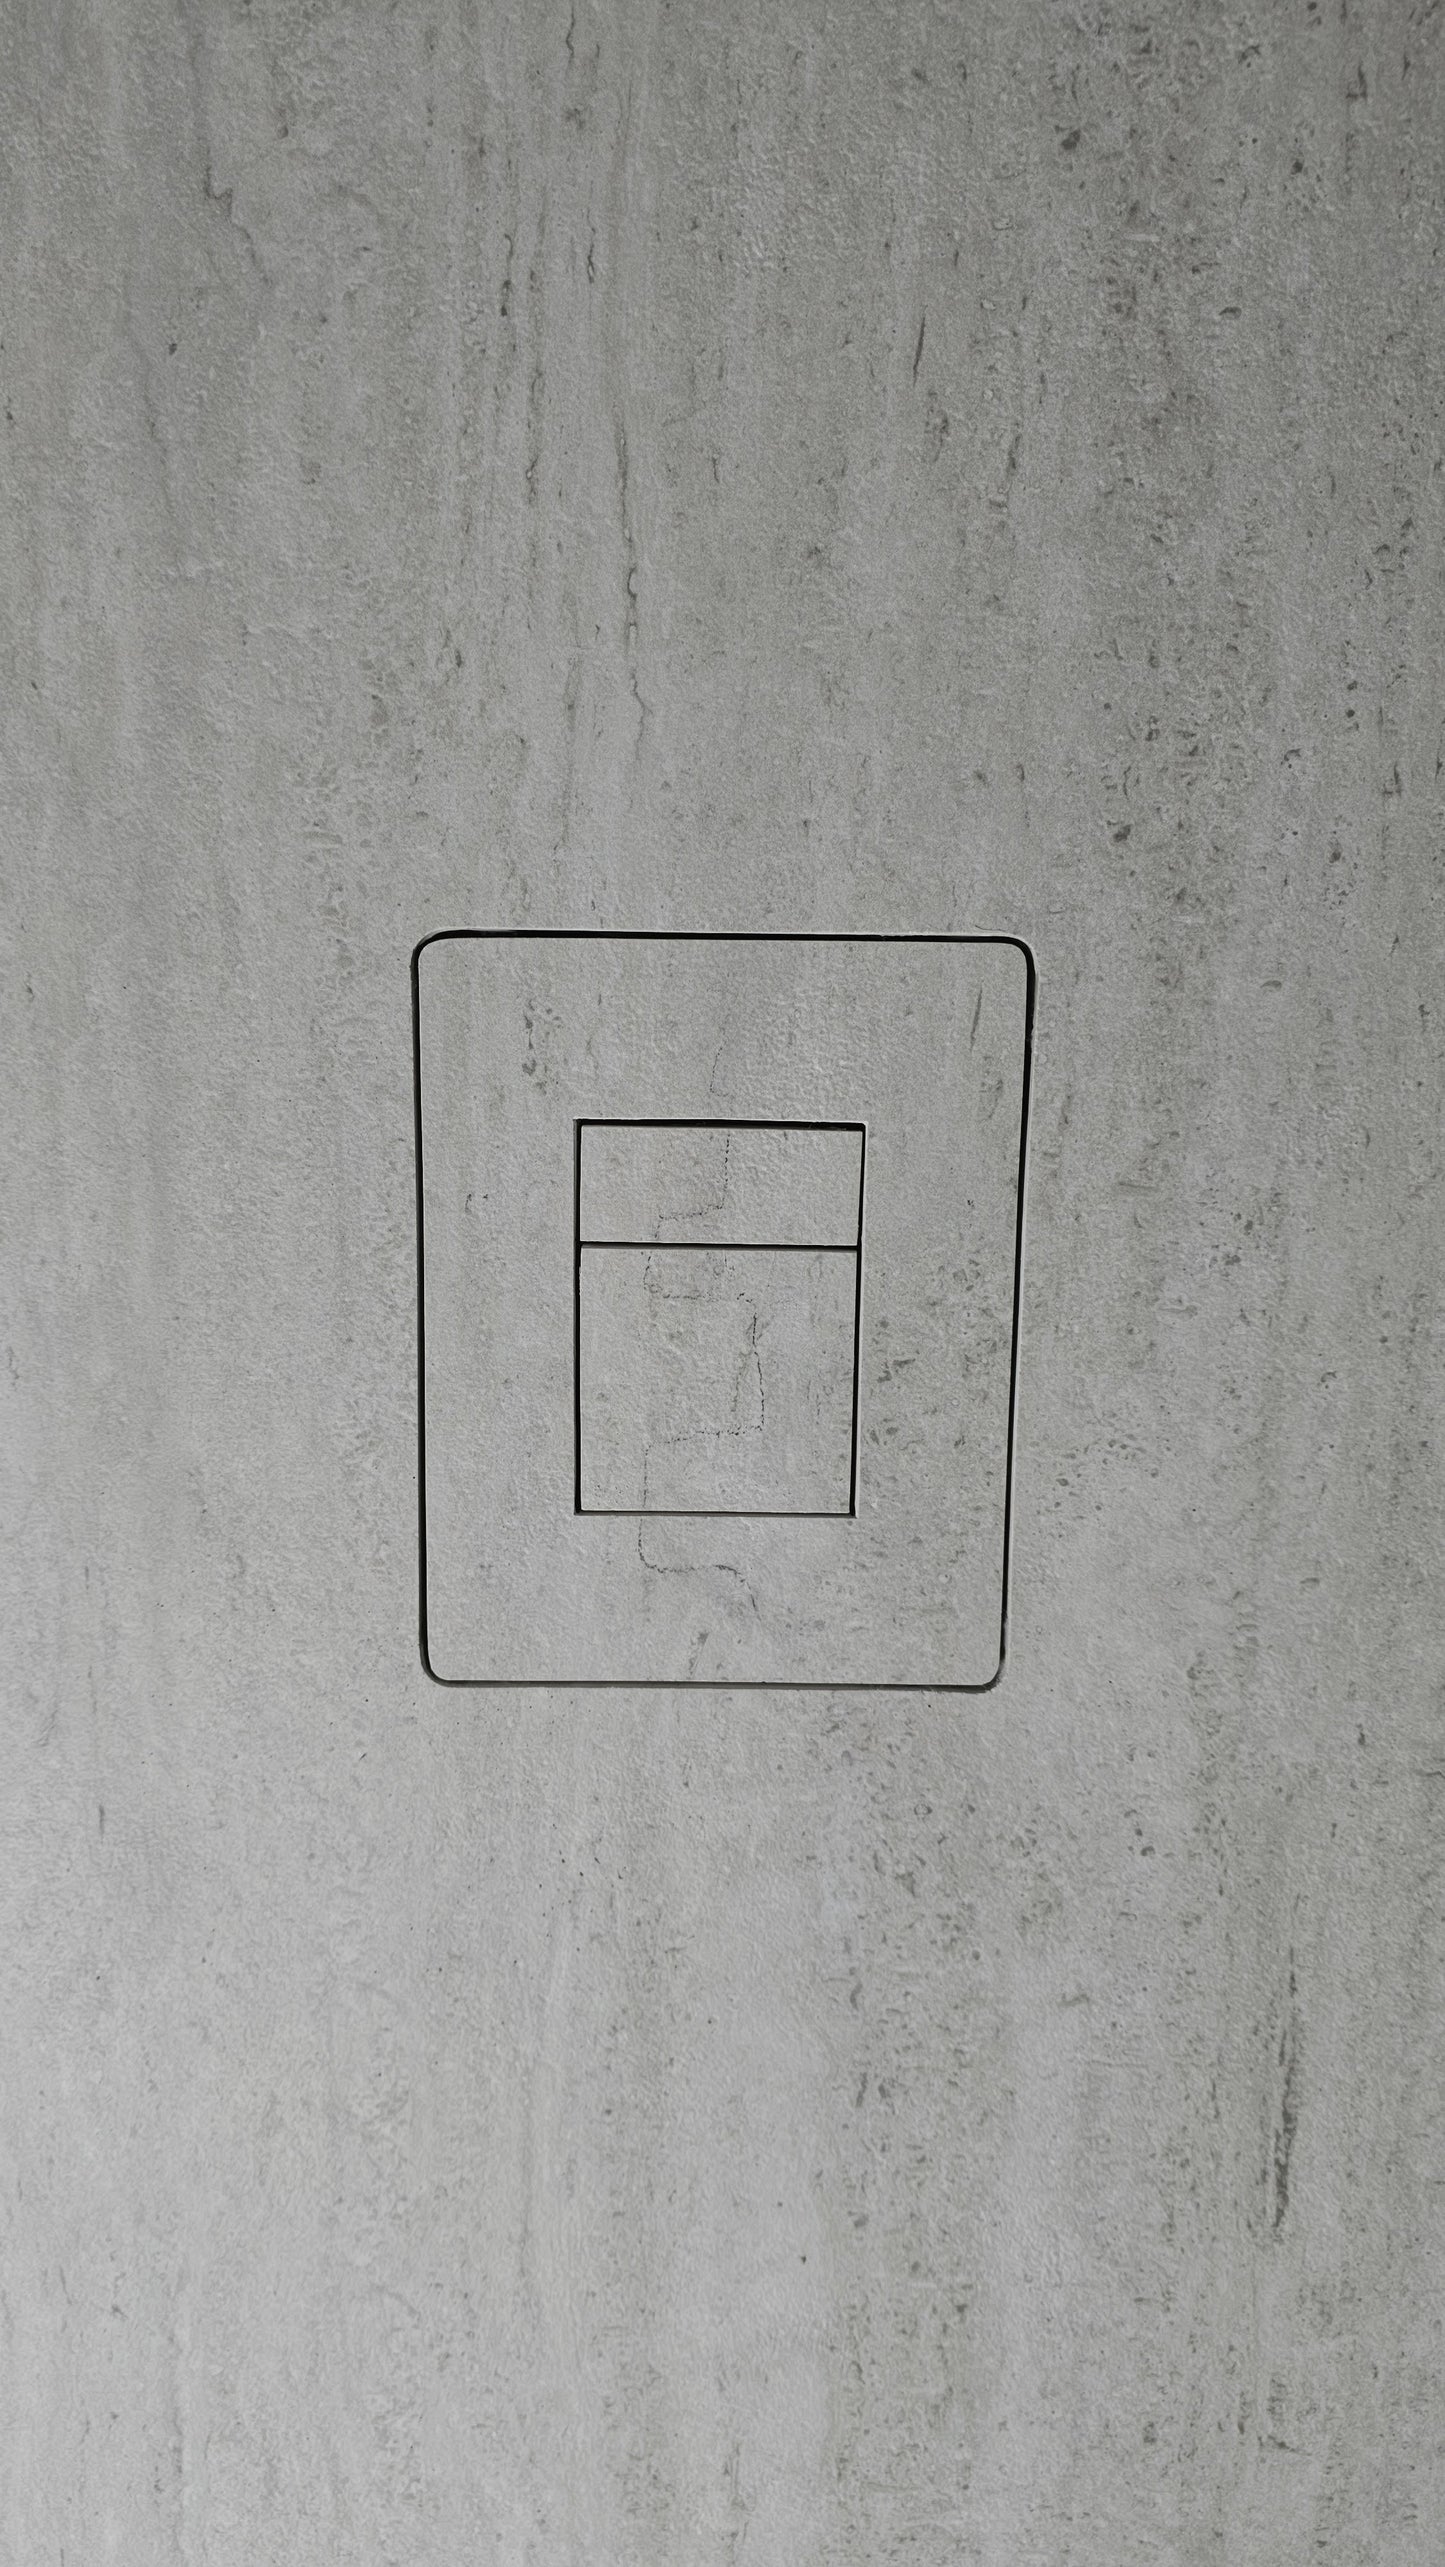
The visible flush surface is created from your own tile, so precision during preparation is critical. Use the provided template to accurately define the cut-out before making any cuts.
A clean and exact finish here determines the final look — this is what separates a professional installation from an average one.
Recommended Tools & Method
- Precision Cutting Tools
Use a rotary engraver, milling tool, or similar equipment suitable for detailed work on tile surfaces. The goal is a sharp, controlled cut without chipping. - Waterjet Cutting (Advanced Option)
For high-end projects or natural stone, waterjet cutting delivers the most accurate and refined result.
If you choose this method, cutting files can be provided on request. - Adhesive
Use a strong PU-based adhesive to securely bond the tile insert to the mechanism.
Material Compatibility
Designed to work with:
- Ceramic tiles up to 12 mm thickness
- Porcelain tiles up to 12 mm thickness
Important Note
The final result depends heavily on execution.
Take your time with the cut — once installed, the tile becomes the button itself.